Laser Upgrade
Thorlabs cheap CP532 laser is unfortunately multimode and must be replaced by a singlemode laser in order to increase the resolution of the spectrometer. Fortunately, Thorlabs also sells the DJ532-40 laser diode which fits well for the application and will allow you to go to a proven 12 cm-1 resolution.
Unfortunately, this DPSS laser diode requires drivers for both current control and temperature cooling control. Currently, the breadboard makes use of a commercial driver which is expensive and we are putting all of our efforts to replace this commercial driver by a much cheaper, custom, one. Nonetheless, you can already apply the laser upgrade with the commercial driver if you cannot wait for the final prototype of the spectrometer.
The updated BOM is given at the end of the page and will increase the spectrometer price by 2,725.16€. Most of the price is due to the laser driver kit which is above 2,500€ on its own.
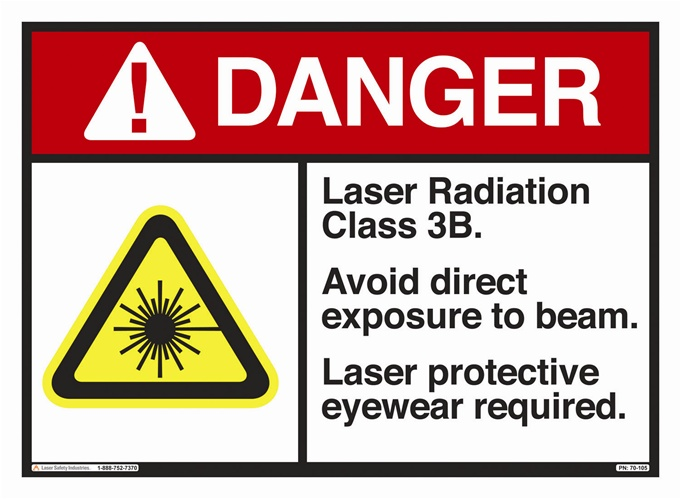
Here-below are the instruction to update the breadboard with the laser. Pay attention that this laser is rated 3B and can severely damage your eyes. Apply extreme caution when using this laser and wear the proper laser safety goggles. Pay attention to windows, open door or any other people who may enter the room. Lasers should only be handled by qualified people instructed to laser safety. Don’t fuck up with lasers.
The laser should be enlarged using the lens provided in the driver kit as well as a 100 mm PCX lens (plano side towards laser). Both lenses should be mounted as a cage system and fixed on the laser driver. Adjust the spacing by projecting the laser on a distant wall until you get a nice spot. Be extremelly careful when installing the laser as it is extremelly sensitive to ESD. Refer to Thorlabs instructions about lasers.
All alignment should be performed at low power and 22.5°C TEC temperature setting. I did my alignments with the current set to 200-250 mA which resulted in a laser power of about 1-5 mW. Depending on your laser diode and TEC temperature, the settings may be different to reach this power range.
Install the laser source with the lens assembly on the MB3030/M breaboard as represented here:
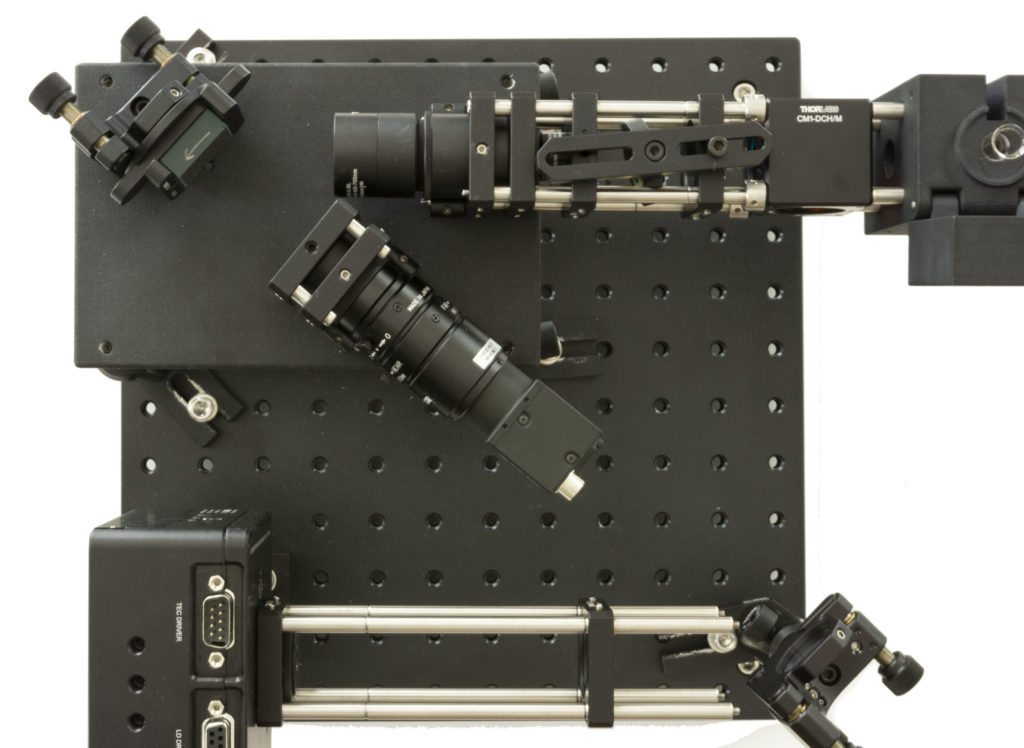
All elements should be mounted on 1/2″ posts and secured.
Install the folding mirror as represented. The goal is to get the laser beam enter the cuvette along the main optical axis. You can use a Rhodamine solution to visualize the laser focalisation angle into the cuvette. Be extremelly careful and always wear your safety goggles. It should look somehow like this when looked from above:

Now you should turn on your camera monitor program and look at the intensity profile along an horizontal line. Move the laser driver lateraly by small increments and adjust the mirror angle such as to increase the signal of a Rhodamine solution to a maximum. This may take some time but it is an important step to get a good SNR and resolution with your setup.
Once you are happy with the signal, secure all the elements and perform a check on resolution. I can recommend either nitromethane or nitrobenzene that have extremelly narrow peaks near 1000 cm-1. Be extremelly careful when handling nitrobenzene as it is carcinogen. Always wear gloves when handling chemicals and dispose of them according to your local regulations.
The resolution of the spectrometer should be better or equal to 12 cm-1. Once you have reached that target, secure all elements and cover the optical path with blackened aluminum foil. You can eventually increase the laser current if necessary. Do this at your own risks as the laser should never exceed 50 mW or 400 mA, which ever comes first.